IoT - Reverse engineering a Bluetooth LED name badge
Security in Bluetooth LE devices is optional, and many cheap products you can find on the market are not secured at all.
While this could lead to some privacy issues, this can sometimes also be a source of fun, especially when trying to understand how a device works, so we can use it in a different way, or on a totally different platform.
I recently bought a Bluetooth LED name badge thinking it could be a nice external screen for some use cases for an Android Things project (such as displaying the device IP, or some short text).
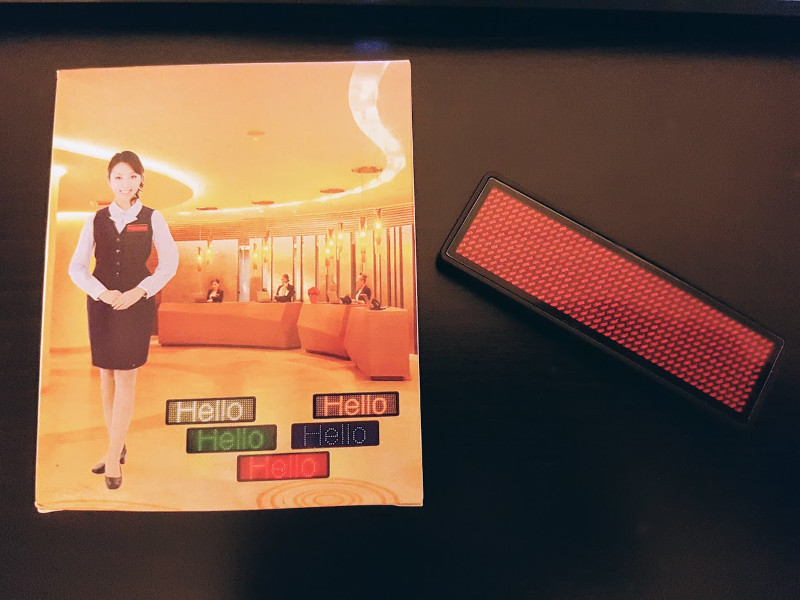
Unlike what can be seen on the package, I would not recommend using this badge for your hotel employees, especially if you have fun customers.
The official application
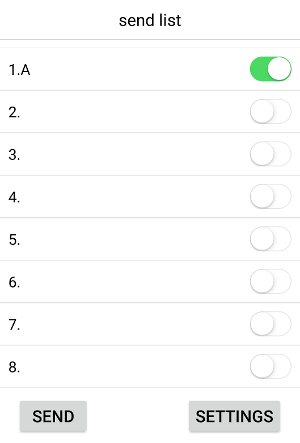
The device is shipped with a very simple iOS / Android application that can send up to 8 different messages to the LED badge.
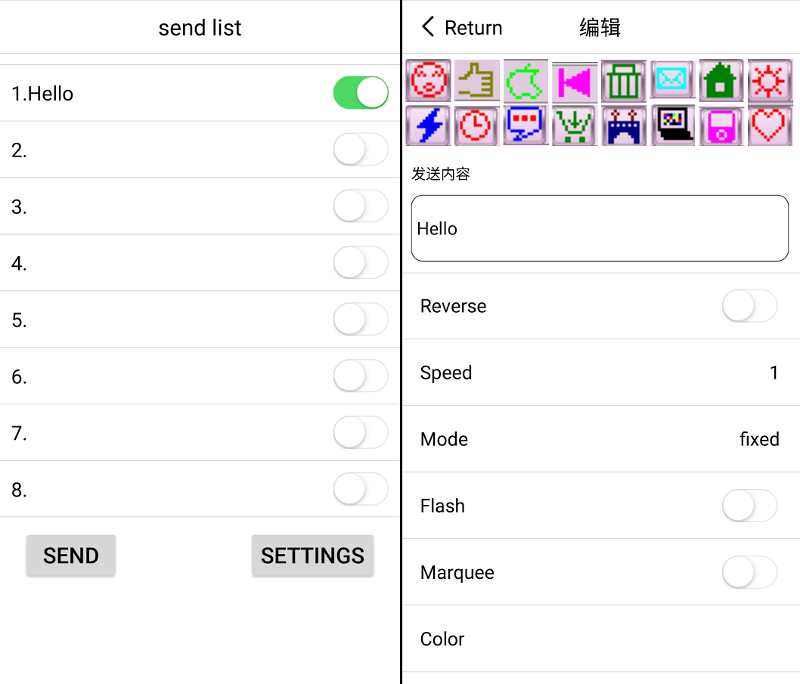
For each message, you can set some options, such as the display mode or the scrolling speed.
When pressing the send button, the app scans for compatible devices and sends data directly. Surprisingly, you don’t need to pair the device to your phone to change the text.
Sniffing Bluetooth packets
It’s now time to understand how to control the device manually.
First, let’s enable the “Bluetooth HCI snoop log” Developer option (more info on this article) to see what happens under the hood when we send the Hello message:
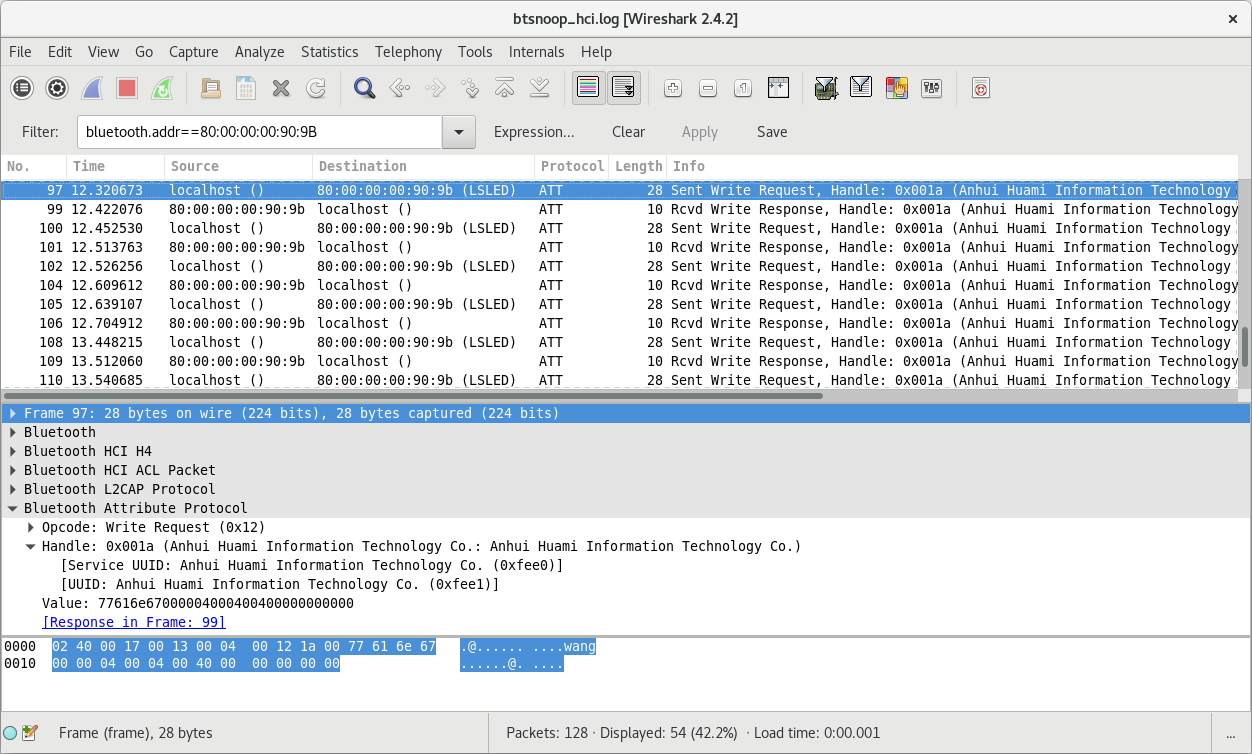
Using Wireshark, we can notice multiple write requests to the characteristic: 0xfee1 of the service 0xfee0.
When we send the Hello message, we can see the 8 following write requests:
77616E67000000000000000000000000
00050000000000000000000000000000
000000000000E10C06172D2300000000
00000000000000000000000000000000
00C6C6C6C6FEC6C6C6C600000000007C
C6FEC0C67C000038181818181818183C
000038181818181818183C0000000000
7CC6C6C6C67C00000000000000000000
At that point, it is almost impossible to understand anything.
We need to send some more messages to detect a common pattern, so let’s try to send a different message, this time Hello, World! (differences are highlighted):
77616E67000000000000000000000000
000E0000000000000000000000000000
000000000000E10C0617363300000000
00000000000000000000000000000000
00C6C6C6C6FEC6C6C6C600000000007C
C6FEC0C67C000038181818181818183C
000038181818181818183C0000000000
7CC6C6C6C67C00000000000000003030
1020000000000000000000000000C6C6
C6C6D6FEEEC68200000000007CC6C6C6
C67C0000000000DE76606060F0000038
181818181818183C00001C0C0C7CCCCC
CCCC760000183C3C3C18180018180000
00000000000000000000000000000000
There are lots of interesting information there:
- This time, 14 write requests were sent (instead of 8 previously). The longer the text is, the more data is sent
- The first write request:
77616E67000000000000000000000000is identical for the 2 examples. - The second write request is almost similar, only one byte differs: previously
0x05for theHellomessage, now0x0Efor theHello, World!message. - The third write request:
000000000000E10C0617????00000000is again very similar, except for 2 bytes. - Then, we have a write request filled with 0:
00000000000000000000000000000000. - Finally, the next four write requests are identical:
00C6C6C6C6FEC6C6C6C600000000007C,C6FEC0C67C000038181818181818183C,000038181818181818183C0000000000,7CC6C6C6C67C0000000000000000????. Those probably mean “Hello”, somehow. - And the last write requests are specific to the second example, this is probably the value for the string: , World!
Understanding the metadata
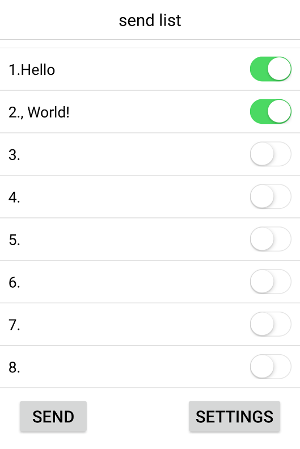
Now, instead of sending a single Hello, World! message. Let’s try to send 2 messages at the same time: Hello, and , World!, and let’s highlight the differences once again:
77616E67000000000000000000000000
00050008000000000000000000000000
000000000000E10C07001C0300000000
00000000000000000000000000000000
00C6C6C6C6FEC6C6C6C600000000007C
C6FEC0C67C000038181818181818183C
000038181818181818183C0000000000
7CC6C6C6C67C00000000000000003030
1020000000000000000000000000C6C6
C6C6D6FEEEC68200000000007CC6C6C6
C67C0000000000DE76606060F0000038
181818181818183C00001C0C0C7CCCCC
CCCC760000183C3C3C18180018180000
00000000000000000000000000000000
This starts to be interesting. Again:
- The first write request is always the same. This looks like a header.
- The second write request now starts with
00050008. We can now understand that this second write request is indicating the length of the 8 messages. It starts with0x0005which is the length of the first message (“Hello”), and0x0008which is the length of the second message (“, World!”). The next 12 Bytes are indicating the length of the 6 other messages (0x0000). - When inspecting the third write request, we can realize that it is a value that seems to be incremented over the time. Probably a timestamp.
Indeed, convertingE1:0C:07:00:1C:03to decimal gives us:225 12 07 00 28 03.
The request was sent on 2017/12/07 at 00:28:03, (and 2017 in hexadecimal is0x07E1, so0xE1is actually representing the last byte of the year). - The fourth request is always composed of zeros. As if it is a separator between metadata and actual content
- Finally, the other requests are representing the “Hello, World!” string, somehow.
Understanding the text data format
Everything is getting clearer.
The last thing we need to understand is how the “Hello” string can be translated to 00C6C6C6C6FEC6C6C6C600000000007CC6FEC0C67C000038181818181818183C000038181818181818183C00000000007CC6C6C6C67C00000000000000000000.
Instead of spending too much time understanding so many Bytes, let’s send a shorter message: A, instead of Hello.
77616E67000000000000000000000000
00050000000000000000000000000000
000000000000E10C0700203100000000
00000000000000000000000000000000
00386CC6C6FEC6C6C6C6000000000000
Looks like the character A is represented by the 00:38:6C:C6:C6:FE:C6:C6:C6:C6:00 hex value.
If we convert each byte to binary, this will be:
0x00: 00000000
0x38: 00111000
0x6C: 01101100
0xC6: 11000110
0xC6: 11000110
0xFE: 11111110
0xC6: 11000110
0xC6: 11000110
0xC6: 11000110
0xC6: 11000110
0x00: 00000000
Have you noticed anything special? Let’s highlight the “1s”:
00000000
00111000
01101100
11000110
11000110
11111110
11000110
11000110
11000110
11000110
00000000
Each bit of the hex data 00:38:6C:C6:C6:FE:C6:C6:C6:C6:00 is representing an LED. 1 to turn it on, and 0 to turn it off

Writing an Android app to control the LED badge
We now understand how the Bluetooth LED badge works, converting a text to multiple byte arrays we can send using the Bluetooth LE APIs.
The implementation will consist of manipulating bits. That may be tricky. A single bit error and nothing will work, plus it will be hard to debug.
For those reasons, and since the specs are now perfectly clear, it is strongly recommended to start writing unit tests before the code implementation.
This is an example of the unit tests that I wrote:
fun `result should start with 77616E670000`() {
    // Given
    val data = DataToSend(listOf(Message("A")))

    // When
    val result = DataToByteArrayConverter.convert(data).join()

    // Then
    result.slice(0..5) `should equal` listOf<Byte>(0x77, 0x61, 0x6E, 0x67, 0x00, 0x00)
}

fun `size should contain a 2 byte hexadecimal value for each message`() { ... }

fun `the 6 next bytes after the size should all be equal to 0x00`() { ... }

fun `timestamp should contain 6 bytes, 1 for the last 2 digits of the year, 1 for the month, the day, the hour, the minute and the second`() { ... }

fun `the 20 next bytes after the timestamp should all be equal to 0x00`() { ... }

fun `message should contain hex code for each character, skipping invalid characters`() { ... }

fun `each write request should contain 16 bytes`() { ... }
If you are interested, the tests implementation can be found here.
Using the Android Bluetooth LE APIs
Our app can translate a String message into byte arrays we can send via Bluetooth.
We can now use the Android Bluetooth APIs to scan for the LED badge, and send the data once a device has been found.
For more information, you can read the following blog post:
Communicating with Bluetooth Low Energy devices.
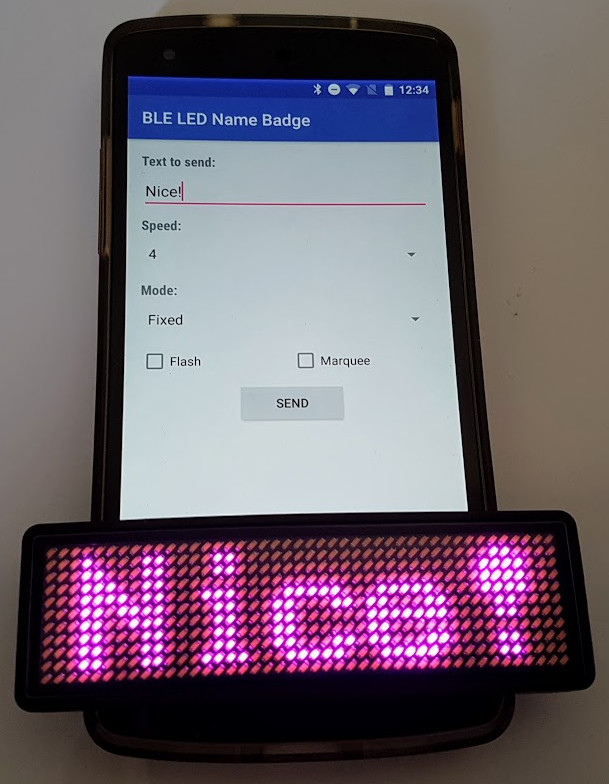
Adding a new feature
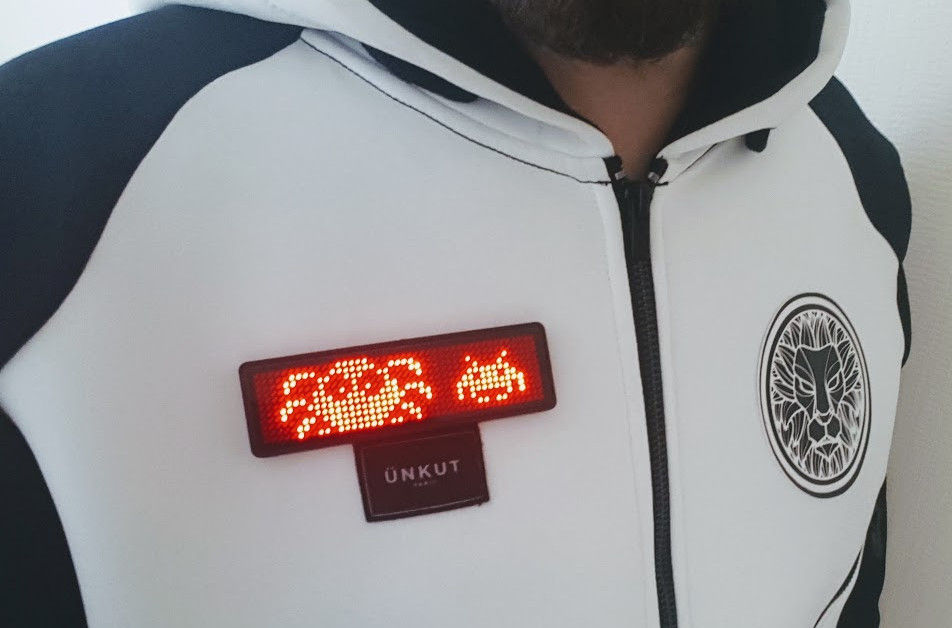
The official app is lacking a fun feature: the possibility to send a Bitmap to the LED badge directly.
Since we now have a full control over the device, we can create a 40x11px bitmap and write some code to convert it into byte arrays we can send to the LED badge.
![]()
for (i in 0 until (40 / 8)) {
  for (row in 0 until 11) {
    var byte = 0
    for (col in 0 until 8) {
      val isOn = bitmap.getPixel((i * 8) + col, row) != Color.TRANSPARENT
      byte = byte or ((if (isOn) 1 else 0) shl (7 - col))
    }
    bytes.add(byte)
  }
}
Conclusion
Reverse engineering this Bluetooth LE device was a lot of fun.
It’s rewarding to finally understand how things work after a few tries, and now the LED badge can be controlled by any devices, and not only the provided mobile app.
I can use the LED badge for different purposes such as an Android Things external wireless screen, and can even display any bitmap that I want.
The complete source code to control this device (you can buy on aliexpress) is available on this link:
https://github.com/Nilhcem/ble-led-name-badge-android/