Android Things - USB communications
Android Things now supports USB Host (since DP3), which allows a user space Android application to talk to a custom USB device.
To discover this feature, we will create a custom USB sensor, and forward all events to the Android Things board over USB.
You can see below a video of what we will achieve: the USB device will be an Arduino NFC reader. When scanning a tag (or an amiibo), the Arduino will forward NFC data to the Android Things board over USB.
Attention, please
There are two different ways to communicate with a USB device via Android Things.
-
If the device is a USB-Serial and if it reports a
/dev/tty*device handle through the kernel, then you won’t need to use any USB Host API. Instead, try to callPeripheralManager.getUartDeviceList(). If you can see a new UART endpoint, this means that you can directly use the UART API to communicate with the USB device. No need to use USB APIs at all (if you don’t need those). -
If the device does not report a new
/dev/tty*after being plugged in (e.g. the kernel doesn’t have the driver built-in), you are forced to use the USB layer. You will need to manipulate the USB Host API, which allows a regular user space application to communicate with USB devices without root privileges or support needed from the Linux kernel.
In a previous post, we already saw how to communicate with a serial device over UART.
This time, we will use the USB Host API, and the serial communication will be performed using a third party library. That way, the code we will write here will not be specific to Android Things, but will also work on any Android (3.1 and above) smartphone.
Flashing the Arduino
We will start with something simple: we first want the Arduino to continuously send the "Hello!" value to the serial port every second, at a 115 200 baud rate.
void setup() {
  Serial.begin(115200);
}

void loop() {
  Serial.println("Hello!");
  delay(1000);
}
When we connect the Arduino to the Android Things board, we expect our app to receive the "Hello!" text every second. And for that, we’ll first have to edit the AndroidManifest.xml.
AndroidManifest.xml
We want to be notified when an external USB device is attached to the Android device.
This can be done adding a new intent-filter entry to the Activity that should be started by the system when a USB device is plugged in.
Also, we will add a meta-data element pointing to an external XML resource file (here in res/xml/device_filter.xml) that declares identifying information about the device that we want to detect.
<activity launchMode="singleTop"...>...
  <intent-filter>
    <action android:name="android.hardware.usb.action.USB_DEVICE_ATTACHED"/>
  </intent-filter>

  <meta-data
      android:name="android.hardware.usb.action.USB_DEVICE_ATTACHED"
      android:resource="@xml/device_filter"/>
</activity>
If the device_filter.xml file has the following content, we will be notified each time any USB device is plugged in:
<resources>
    <usb-device/>
</resources>
This is not exactly what we want. We only want to be notified when the Arduino is plugged in, and ignore all other USB devices, so we will add a specific rule.
After connecting the Arduino to the Android Things board, we can consult the kernel logs using dmesg to get some device information:
$ adb shell dmesg
New USB device found, idVendor=2341, idProduct=0001
New USB device strings: Mfr=1, Product=2, SerialNumber=220
Product: Arduino Uno
Manufacturer: Arduino (www.arduino.cc)
We only want to be notified when the Arduino (idVendor=0x2341) is connected, so we will specify this vendor id into the usb-device tag:
<usb-device vendor-id="9025"/>Note here that the vendor-id expects a decimal value, not a hexadecimal one.
This filter will be enough for us. For a complete list of what we can do, please refer to the USB Host documentation
Starting a USB connection
Our Activity now receives an intent each time the Arduino is plugged in.
We will first list all the connected USB devices, and open a USB connection if the Arduino was found:
UsbManager usbManager = getSystemService(UsbManager.class);
Map<String, UsbDevice> connectedDevices = usbManager.getDeviceList();
for (UsbDevice device : connectedDevices.values()) {
  if (device.getVendorId() == 0x2341 && device.getProductId() == 0x0001) {
    Log.i(TAG, "Device found: " + device.getDeviceName());
    startSerialConnection(usbManager, device);
    break;
  }
}
The startSerialConnection method will use felHR85’s USBSerial library to open a serial connection between the Arduino and the Android device:
void startSerialConnection(UsbManager usbManager, UsbDevice device) {
  UsbDeviceConnection connection = usbManager.openDevice(device);
  UsbSerialDevice serial = UsbSerialDevice.createUsbSerialDevice(device, connection);

  if (serial != null && serial.open()) {
    serial.setBaudRate(115200);
    serial.setDataBits(UsbSerialInterface.DATA_BITS_8);
    serial.setStopBits(UsbSerialInterface.STOP_BITS_1);
    serial.setParity(UsbSerialInterface.PARITY_NONE);
    serial.setFlowControl(UsbSerialInterface.FLOW_CONTROL_OFF);
    serial.read(mCallback);
  }
}
The UsbSerialDevice.read() method takes an UsbReadCallback reference which will be called each time data is received. Here is a simple implementation:
UsbSerialInterface.UsbReadCallback mCallback = (data) -> {
  String dataStr = new String(data, "UTF-8");
  Log.i(TAG, "Data received: " + dataStr);
};
We convert the byte[] data to a UTF-8 String, and log this data.
Now, each time data is sent from the Arduino over USB, the callback is triggered and data is logged. We can run adb logcat to confirm that we receive the “Hello!” message from the Arduino every second:
Data received: Hello!
Data received: Hello!
Data received: Hello!
For a complete and optimized source code, take a look at github.com/Nilhcem/usbfun-androidthings.
Adding some more fun
Printing "Hello!" to the logs every second is quite boring.
A fast way to add some fun to this project is to connect an NFC module to the Arduino and send NFC tag data from this module to the Android Things board over USB.
I used Elechouse’s PN532 Module over SPI, using this sketch.
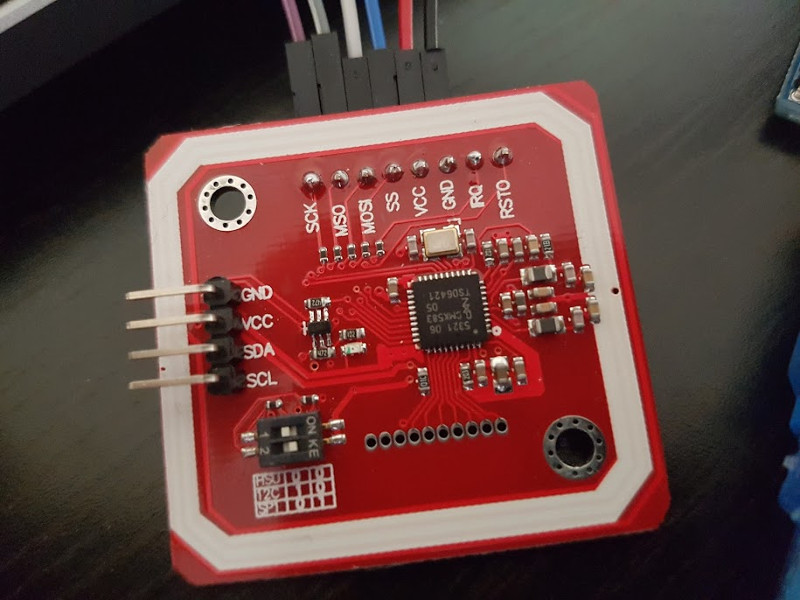
To simplify, I am only forwarding the tag ID to the Android Things board. And the Android app displays an appropriate image depending on the received ID.
Porting this project to an Android smartphone
As explained in the introduction, the project uses the USB Host API from the Android SDK, and is therefore fully compatible with any Android smartphones or tablets (minSdk=12). If you own a USB-OTG cable, you can plug an Arduino directly to your phone.
Below, a demonstration (with sound) of an Android phone, sending data to an Arduino over USB to play music on a piezo buzzer. (source code is available here)
There’s still one difference however: when a USB device is connected, a UI dialog is shown and the user needs to grant the USB permission to access the device. Checking whether the permission is granted was skipped on the Android Things source code project we wrote, as, similar to runtime permissions, you don’t have to check/request USB permission on Android Things since there may be no display attached, and therefore, no ways for users to grant those permissions. They are allowed by default.
Going further
A better example of what you can do with the USB Host API is the official USB enum sample.
This project iterates over all the USB devices discovered by the host and prints their interfaces and endpoints.
Reading the source code is interesting here as we can learn about USB descriptors.
For example, after a USB device has been detected, it is opened using the same API we used in this article (via UsbManager.openDevice()), then, instead of opening a serial connection, the code immediately queries the USB device and configuration(s) descriptors:
connection.controlTransfer(0x80, 0x06, 0x100, 0x00, buffer, length, timeout);
int deviceClass = (buffer[4] & 0xFF);
int deviceProtocol = (buffer[6] & 0xFF);
int vendorId = (buffer[8] & 0xFF) + ((buffer[9] & 0xFF) << 8);
int productId = (buffer[10] & 0xFF) + ((buffer[11] & 0xFF) << 8);
When reading the USB specs, it is specified that all USB devices must support at least a default endpoint. Any transfer that targets this endpoint is called a control transfer, and is a way for the host to obtain device information.
0x80is the data direction. Here, it means “IN” (from the USB device to the host)0x06is the request type to get a descriptor0x100is for a device descriptor (0x200for a configuration descriptor)0x00is the descriptor index (default descriptor)
Then, the code receives data from the buffer, as specified in the documentation.
+--------+------+---------------------------------------+
| Offset | Size | Description                           |
+--------+------+---------------------------------------+
|    4   |   1  | Device class code                     |
|    6   |   1  | Protocol code                         |
|    8   |   2  | Vendor ID (assigned by USB.org)       |
|   10   |   2  | Product ID (assigned by Manufacturer) |
+--------+------+---------------------------------------+
And so on. Once we understand that, the sample code is much easier to read.
Conclusion
This post introduced an example of how to use the USB Host API with Android Things.
In a real-life scenario, you won’t need to use an Arduino to bring NFC support to Android Things, as you can develop the NFC driver directly, and even if you need to, you may be able to communicate with the Arduino using the UART API directly. You may not need to use the USB Host API + a third party dependency.
If you own a USB-Serial device and if this latter is recognized by the kernel, then using the UART API is the easiest and recommended way to communicate between both devices. But if you need to access any kind of USB device from an app, then you’ll be happy to have a user-space USB support on Android Things.
As Marcos Placona explained in a blog post, some components need super-fast drivers (sending signals that alternate from vcc to ground in a few microseconds). While this is not possible yet with Android Things, you could use a microcontroller that acts as a proxy and directs data to the Android Things board over USB, to use those components in your Android Things projects.