Android Things - Hack your toys to make them smarter
One of the advantages of Android Things is its simplicity to implement complex features to small devices, using a JVM compatible language and the Android framework.
So far, we have been creating new projects from scratch using a breadboard and a few components. Today we will “refactor” an existing project: an electronic toy.
Follow me Poli
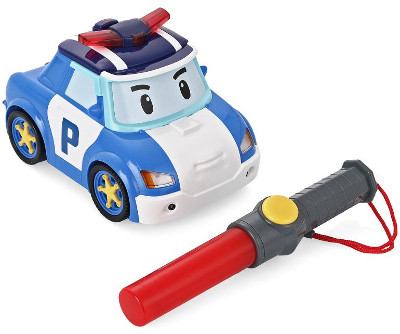
This electronic toy is simple, it consists in an autonomous car that automatically follows the red light emitted by a stick.
This could be fun for children, but there’s one problem though: it does not really work as expected.
The car is moving too randomly, the lightstick is useless, children are frustrated and customers are disappointed.

Look at those Amazon reviews! It’s so sad, because the toy could be fun and the hardware looks Ok.
It is time to use some Android Things magic here: replacing the software, and making the toy fun to use.
Let’s take a look inside
First, we need to unscrew the toy case to see what’s inside:
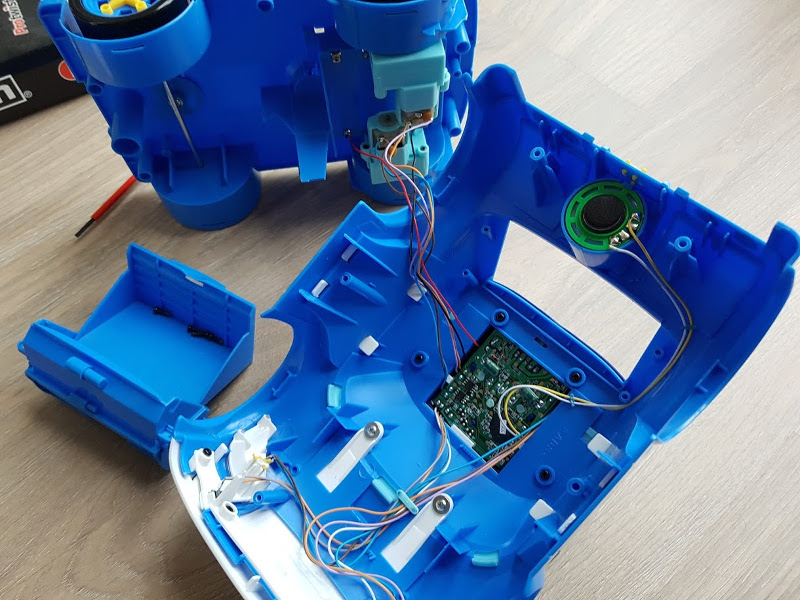
We can see that we have 2 DC motors, some sensors, LEDs, and other components we can reuse. Let’s focus on the motor part first.
Making the car move
Instead of having a car that moves randomly, we will transform this toy into a remote controlled car.
We won’t need to buy a car chassis, 2 DC motors and a battery holder, as we will reuse all those components from the original toy directly.
When taking a closer look at the toy, we can find some red and black wires from the battery box (power and ground). Also, each motor has 2 wires (to simplify: one to make it move forward, and one to make it move backward).
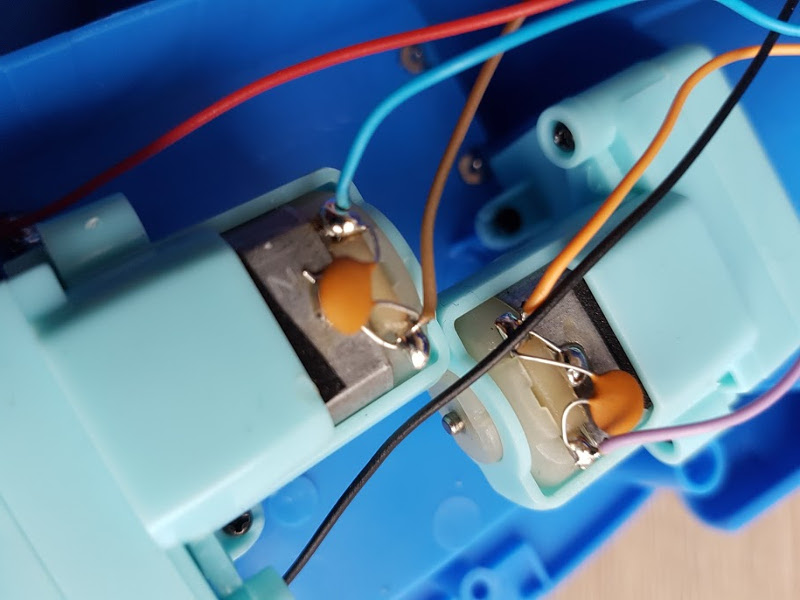
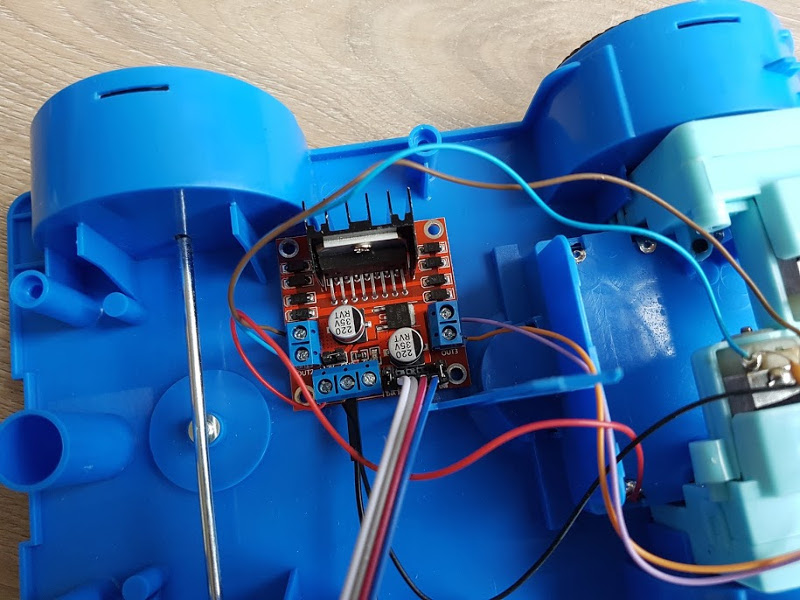
We are going to bare all those wires, and plug them into an L298N Dual Motor Controller.
For more info on that part, I wrote an article here that explains why the L298N is useful, and how to connect everything to the Android Things board.
Now, let’s figure out which GPIO wire is for which direction. For that, there is no secret: we will give current to each GPIO, and observe which wheel is moving to which direction.
PeripheralManager manager = PeripheralManager.getInstance();
Gpio gpio = manager.openGpio("BCM22")
gpio.setValue(true)
It seems that this BCM22 GPIO here is for actually moving the left wheel forward. Now we can repeat the same operation with the 3 others GPIOs, and we will be able to figure out how making the car move.
public void move(Direction direction) {
  boolean valueLeftForward = false;
  boolean valueRightBackward = false;
  boolean valueLeftBackward = false;
  boolean valueRightForward = false;

  switch (direction) {
    case UP:
      valueLeftForward = true;
      valueRightForward = true;
      break;
    case DOWN:
      valueLeftBackward = true;
      valueRightBackward = true;
      break;
    case LEFT:
      valueRightForward = true;
      break;
    case RIGHT:
      valueLeftForward = true;
      break;
  }

  gpioLeftForward.setValue(valueLeftForward);
  gpioRightBackward.setValue(valueRightBackward);
  gpioLeftBackward.setValue(valueLeftBackward);
  gpioRightForward.setValue(valueRightForward);
}
Using other components
We can focus on reusing other components if we want.
For example, it could be a good idea to add a light sensor, and automatically turn on the car’s headlights when the luminosity is low.
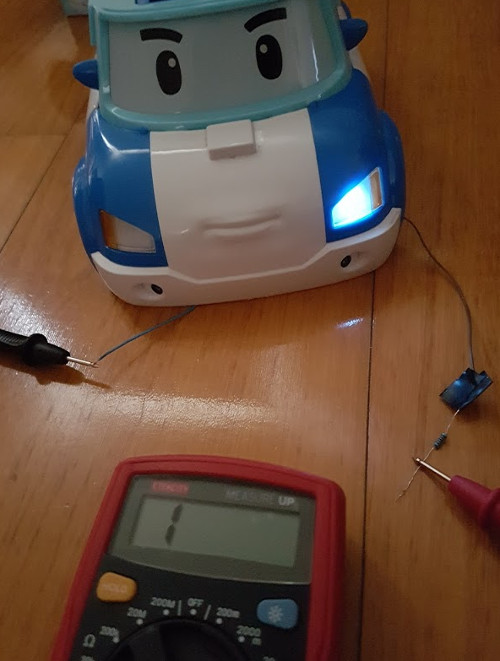
The toy already has 2 LEDs for its headlights, we will use a resistor and a multimeter to test those LEDs first and determine the positive/negative leads.
Wireless control
To wirelessly control the car, I initially thought using the Nearby Connections API over Wi-Fi, as I already did some time ago.
It works flawlessly, and is easy to integrate.
Problem: this blog post would not be very different from the original one, so I decided to use an even more generic solution: embedding an HTTP server inside the Android Things project
NanoHTTPD to the rescue
We will use NanoHTTPD, a tiny web server in Java.
You only need to add one dependency to your build.gradle file:
compile 'org.nanohttpd:nanohttpd:${version}'And then, you can start and stop your server in your lifecycle methods (e.g. onCreate/onDestroy).
To serve pages, you need to override a serve method.
Simplified code:
public class HttpdServer extends NanoHTTPD {

  private static final int PORT = 8888;

  public interface OnDirectionChangeListener {
    void onDirectionChanged(String direction);
  }

  private OnDirectionChangeListener listener;

  public HttpdServer(OnDirectionChangeListener listener) {
    super(PORT);
    this.listener = listener;
    start(NanoHTTPD.SOCKET_READ_TIMEOUT, false);
  }

  @Override
  public Response serve(IHTTPSession session) {
    Map<String, List<String>> parameters = session.getParameters();
      if (parameters.get("direction") != null) {
        listener.onDirectionChanged(parameters.get("direction").get(0));
      }

    String html =
      "<html><head><script type=\"text/javascript\">" +
      "  function move(direction) { window.location = '?direction='+direction; }" +
      "</script></head>" +
      "<body>" +
      "  <button onclick=\"move('UP');\">UP</button>" +
      "  <button onclick=\"move('DOWN');\">DOWN</button>" +
      "  <button onclick=\"move('LEFT');\">LEFT</button>" +
      "  <button onclick=\"move('RIGHT');\">RIGHT</button>" +
      "  <button onclick=\"move('STOP');\">STOP</button>" +
      "</body></html>";

      return newFixedLengthResponse(html);
    }
}
That way, the Android Things device will embed an HTTP server. To control it, simply open the device URL on any browser and click on the direction buttons.
When a button is pressed, an observer is notified so it can move the car to the specified direction.
Conclusion
Sometimes, you don’t need to buy components (e.g. a car chassis, DC motors, LEDs…) to create some new projects. Reusing existing components can be a good alternative.
The car toy is now able to serve web pages, and can be controlled manually. Implementing those features was pretty quick.
To finish, we can place the Raspberry Pi inside the toy, and use a USB portable battery pack to power it.
I only had a huge Power Bank, but a smaller one could easily be placed inside the box, so it won’t look too experimental 😂.