IoT - A beginner's guide to making your own devices from scratch
Building a prototype from scratch used to be really expensive not so long ago.
The overall cost has dropped significantly years after years, and everyone is now able to build their own prototypes at home with very little means.
This post will explain, from a beginner’s perspective, one of the many different approaches to change your ideas into fully functional objects.
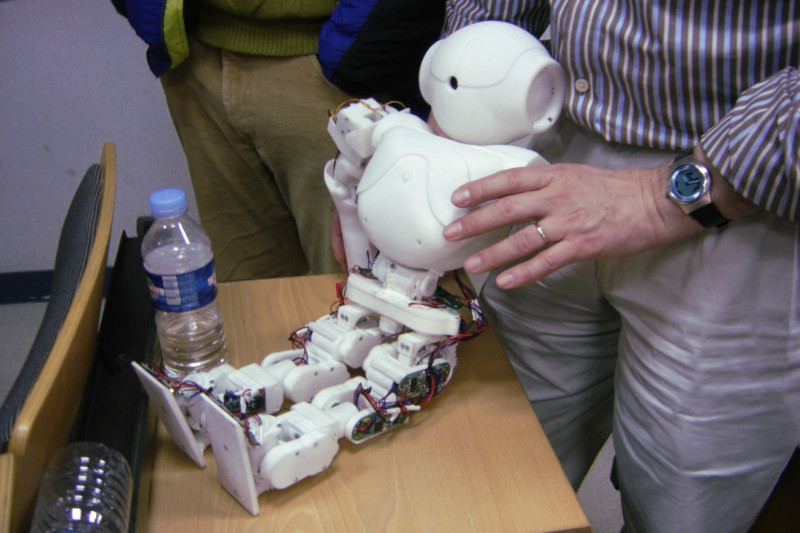
Back in 2005, when building the now famous SoftBank Robotics NAO, each required prototype iteration used to cost tens of thousands of dollars to build. With a lot of will now, this could almost be a single person’s hobby.
Choose the hardware
The hardware will depend on what you want to build.
A good start is to use a famous prototyping board with a microcontroller unit embedded, such as an Arduino, an ESP8266 or an ESP32.
You’ll also need some sensors and actuators.
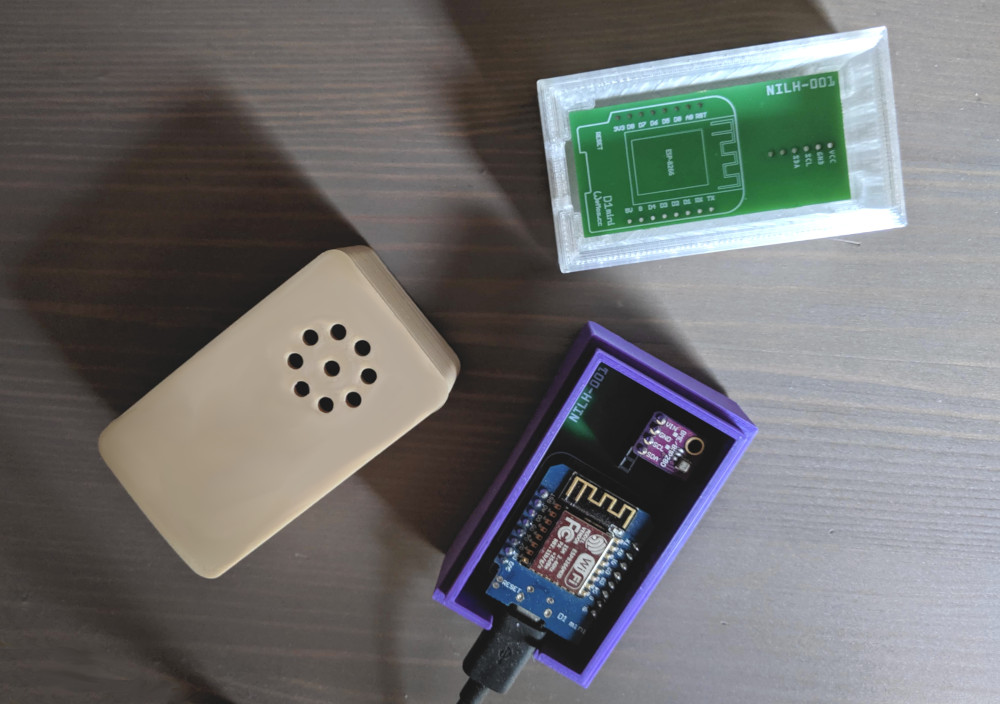
The previous post was about how you could program an ESP32 to send temperature and humidity data to the Google Cloud platform. We’ll turn this idea into an actual product and build everything in a single day.
Instead of an ESP32, we’ll take a less efficient but cheaper ESP8266 (WeMos D1 Mini, $2), and we’ll keep the great BME280 temperature and humidity sensor ($3).

Write the software
You’ll choose your programming language depending on your microcontroller.
The ESP8266 offers a large choice of programming languages you can use:
- C (FreeRTOS)
- Arduino C (Arduino)
- Python (MicroPython)
- Lua (NodeMCU)
- Javascript (Mongoose OS)
- Go (Gobot)
- …and others
Arduino C is good to start, as the language is easy to use for beginners.
Later, you could still rewrite your code for FreeRTOS if you want the software to be better optimized.
We will keep the Arduino C code we wrote in the previous article, as the code is already written and both the BME280 and the Google Cloud IoT JWT libraries are compatible with the ESP8266.
The program will send temperature and humidity data every minute to Google Cloud.
Create the circuit board
Fritzing is a nice software that allows you to model your components wiring.

There’s also a PCB tab to let you easily create a PCB layout for manufacturing, in just a few clicks.
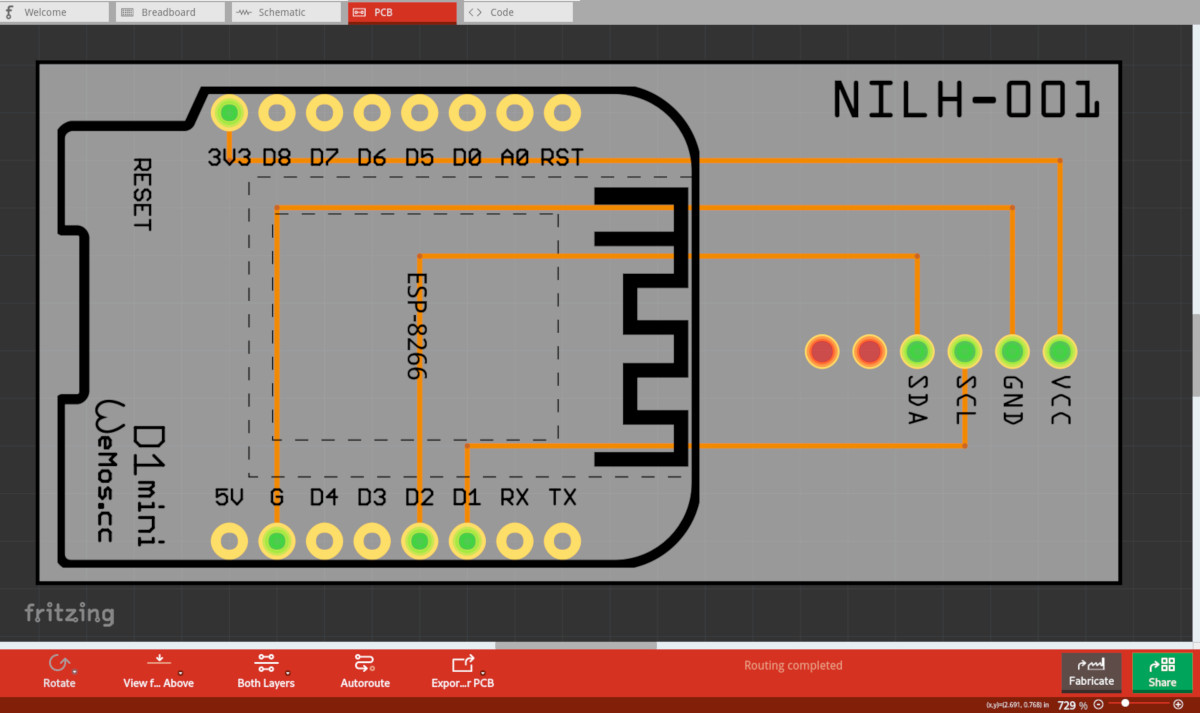
Once made, just click on the “Export for PCB” button to generate an Extended Gerber (RS274X) archive you can upload to various online PCB printing services websites such as pcbway.com or aisler.net.
Print the circuit board
It was convenient for me to use an online service to print the circuit board and ship it to me.
Here’s a screenshot of my aisler order:
 The PCB cost me around $5 (I ordered 3).

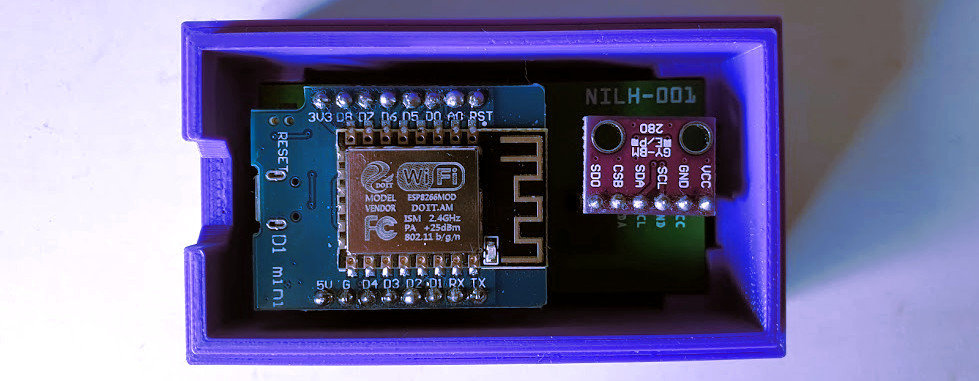
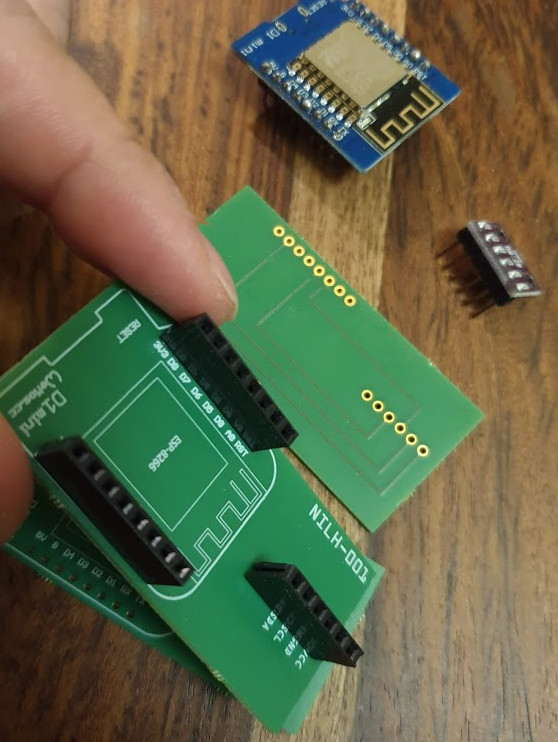
Solder components
Easy part, you just need to take your soldering iron (if you don’t have any, the TS100 is a good choice). I decided here to use pin headers so I can plug/unplug the esp8266 and bme280 easily whenever I want.
Design a custom case
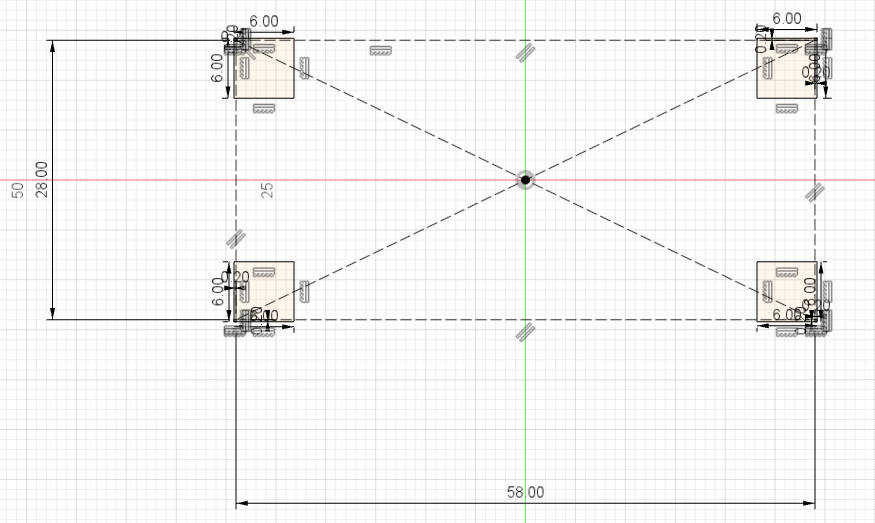
To design a case, we can use Autodesk Fusion 360 which is an easy-to-use 3D Design & Modeling software that offers a free license for hobbyists, startups and makers.
I started by designing four 6x6mm squares located on each side of the 58x28mm PCB. Their goal is to hold the PCB.
Then, you need to extrude the sketch to the desired height, and iterate creating and extruding other sketches until you reach your goal.
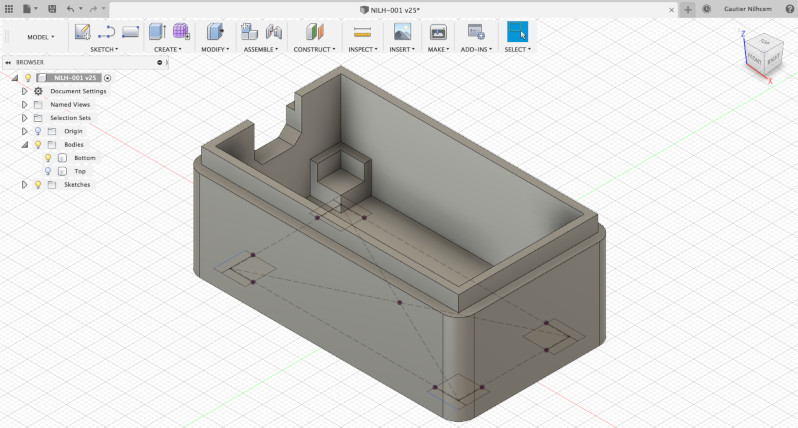
Step-by-step video:
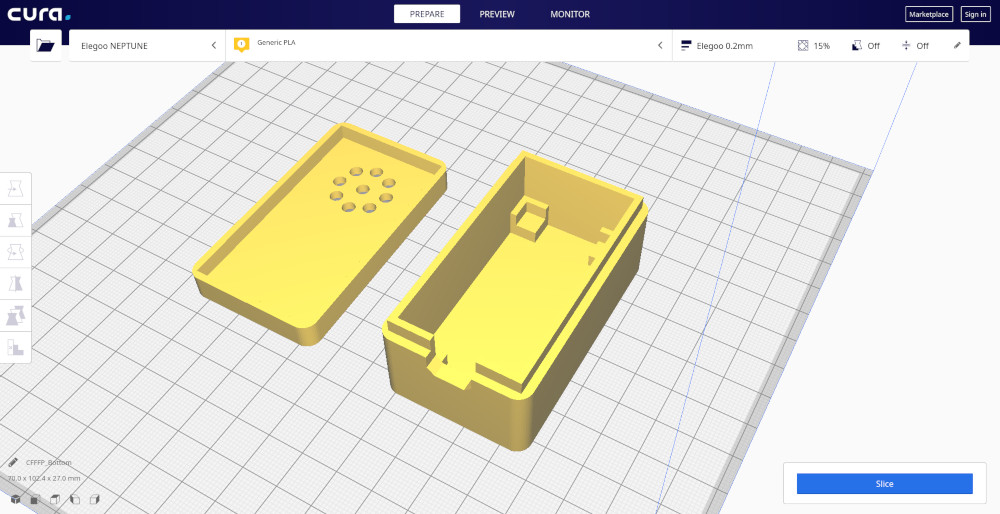
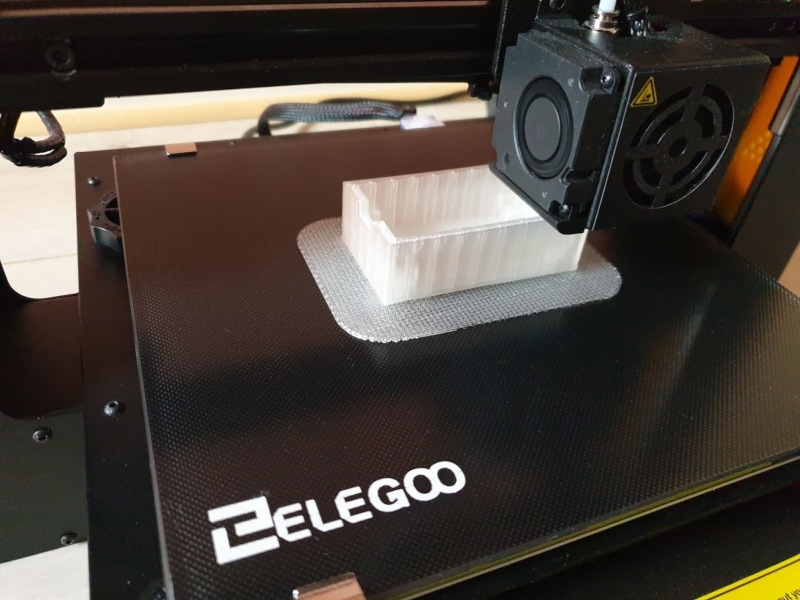
3D-Print it
The 3D model is finished. We can export it to an STL file that can be open using Cura, a free software that will convert the STL file into a set of instructions for a 3D printer.
You can use an online 3D printing service. However, I found them quite expensive, and you can now find good 3D printers for around $200.
I am using the Elegoo NEPTUNE 3D printer with a transparent PLA filament:
Time-lapse using a wood filament:
Ready for mass production
Excluding the price of the existing hardware (computer, 3D printer) and time spent, for around $12 I was able to create a fully functional electronic device that can be used to monitor the temperature in my home and send data to the Google Cloud Platform.
Nowadays, creating your own electronic devices from scratch is a reality. It gives a rewarding feeling, the device is unique and does exactly what you expect it to do.
We could, of course, find cheaper and better temperature sensors in the market. However, finding one that does exactly what I wanted it to do (sending specific data to GCP) is more difficult.
Also, since I’ve built the device, I can modify it anytime. Want to update the software to send data to a local server? Want to add an LED strip below the transparent cover so that it illuminates in a specific color when the temperature is too cold?
Everything’s possible!